Configuring the Environment
In this section of the workshop you will define the configuration options for the whole environment. If you do not already have Configuration Server open and logged in, do that now:
Log in to Configuration Server
- Open the Configuration Server UI.
- Enter the administrator password p@ssw0rd.
The Configuration Server UI is divided into several main areas. Across the top is a navigation area that includes typical drop-down menus and buttons:

Below that, in the top left, is the Profiles selector. Profiles come into play when you have multiple environments, for example DEVELOPMENT, QA and PRODUCTION. A profile is essentially a set of configuration files that are configured for the various servers and other settings for that environment.
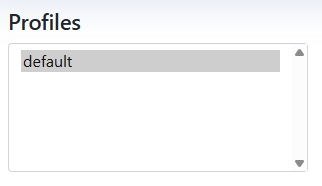
For this workshop there will only be one profile named default.
Below the Profiles selector is the Configuration Files list. It lists the configuration files that are present for the selected profile:
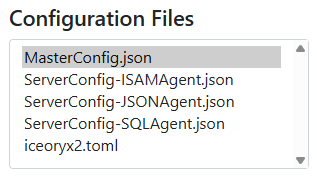
This allows you to select the configuration file to be worked on.
Most components share one main configuration file named MasterConfig.json which contains sections for many different aspects of the environment. This is where you will define all of the settings and options necessary for the workshop.
There are also small configuration files for each of the main Agent applications that are mainly used to define the TCP/IP port number that each agent listens on.
One final configuration file named iceoryx2.toml is also used by some of the components on the base system, but it is unusual to have to alter the contents of the file.
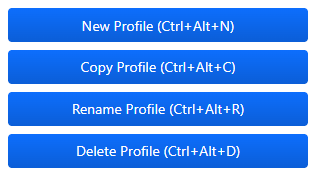
Below the configuration files selector you will see several buttons, the functions of which are fairly self-explanatory; they allow you to create, copy, rename and delete profiles.
The remainder of the UI is taken up by the file editor, the content of which changes as the selection in the Configuration Files list changes.
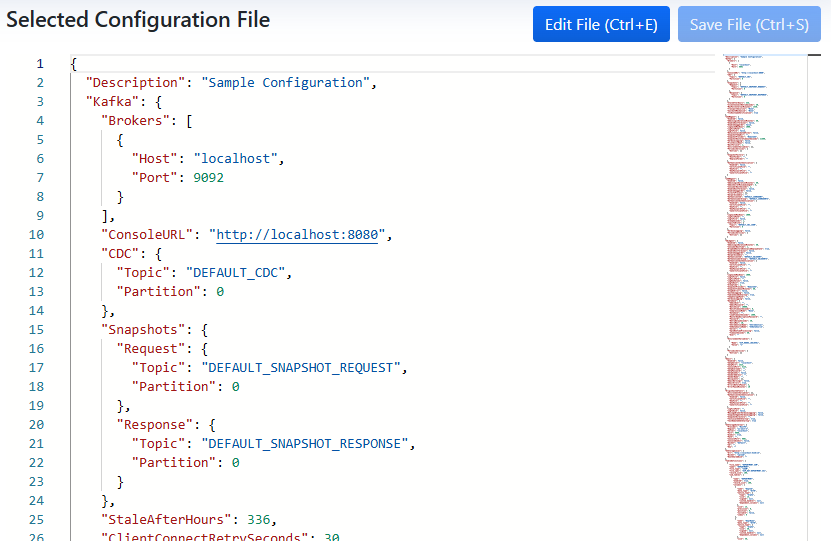
By default the content of the editor is read-only, but you can use the Edit File button to edit the current file, and then the Cancel Edit or Save File buttons to subsequently discard or save your changes to the file.
The editor applies some color-coding to the configuration files, and when editing JSON files such as MasterConfig.json the editor uses a JSON Schema file to provide some level of intellisense and validation.
In addition to editing the MasterConfig.json file directly, Configuration Server allows you to use popup dialogs to modify the configuration options for all of the main configuration options. These dialogs are accessed via the Settings menu whenever a MasterConfig.json file is selected.
Environment Settings
The Environment settings dialog is always available and is used to define which major components will be deployed as part of the profile or environment. The dialog is used to provide a description of what the profile is used for, and to set the main Enabled properties in several main areas of the file.
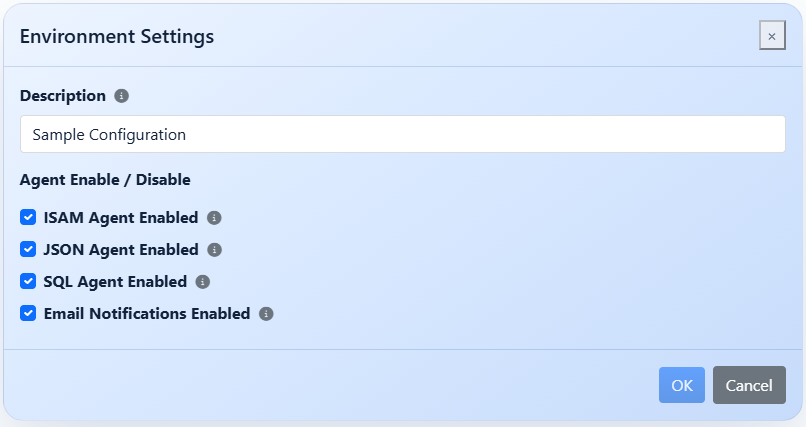
Configure Environment Settings
- From the menu, select Settings then Environment Settings....
- Set the Description to SIP Workshop and enable all four of the options by checking the box next to each.
- Click the OK button to save your changes.
You will see the values that you entered reflected in the ISAMAgent, JSONAgent, SQLAgent and Description sections of MasterConfig.json.
Kafka (Redpanda) Settings
The Kafka settings dialog is always available because a Kafka server is a required component in all profiles. It is used to set configuration related to the Kafka instance, which in our case is provided by Redpanda running on the Linux VM.
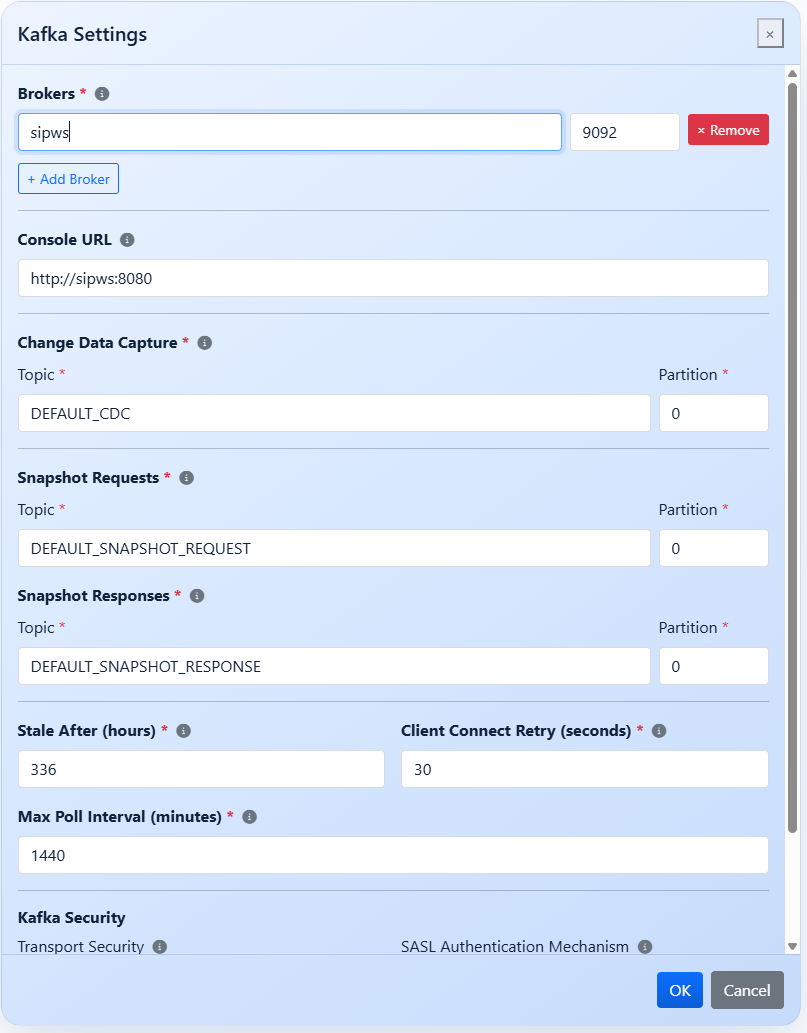
Configure Kafka Settings
- From the menu, select Settings then Kafka Settings....
- In the Brokers section:
- Set the first Broker to sipws leaving the port set to 9092
- Set Console URL to https://sipws:8080
- In the Change Data Capture, Snapshot Requests and Snapshot Responses sections, the pre-filled topic names are appropriate for the workshop environment, as the profile default is being used.
- Leave the remaining settings at their default values.
- Click the OK button to save your changes.
You will see the values that you entered reflected in the Kafka section of MasterConfig.json.
ISAM Agent Settings
The ISAM Agent Settings dialog is used to set configuration options for the ISAM Agent service.
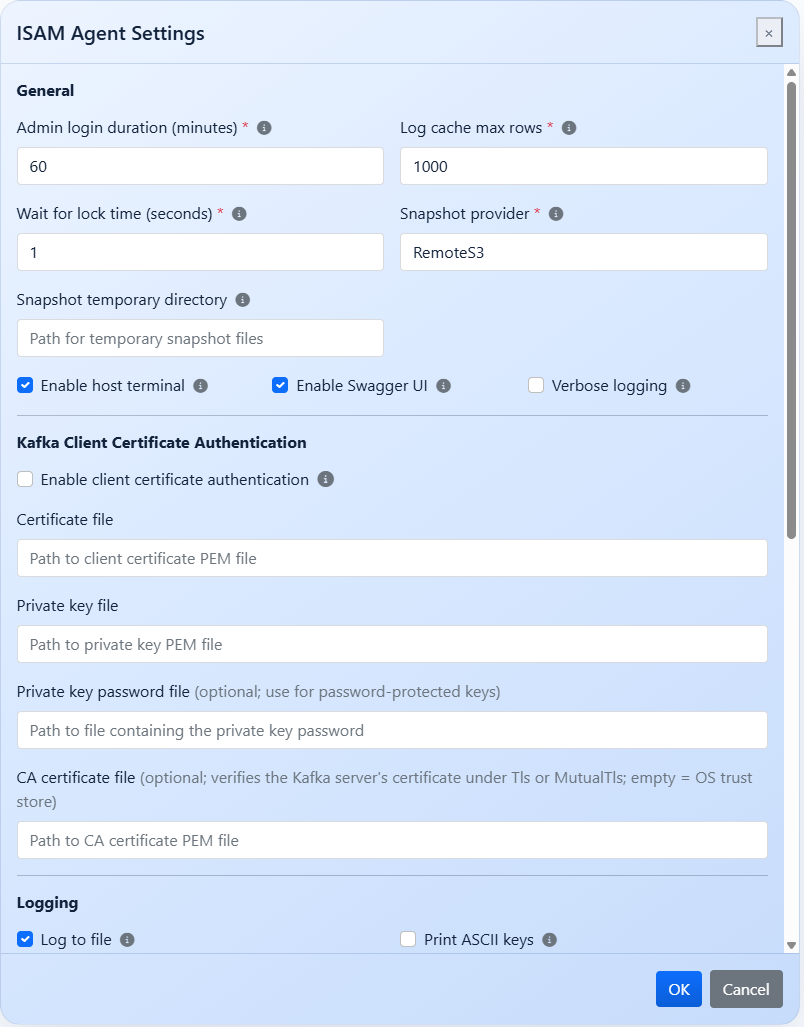
Configure ISAM Agent Settings
- From the menu, select Settings then ISAM Agent Settings....
- In the General section:
- Set Enable host terminal to Checked
- Set Enable Swagger UI to Checked
- In the Logging section:
- Set Log to file to Checked
- Set Log file path to /sip/log
- In the Snapshot Factory section:
- Set Root directory to /sip/data
- In the Environment Variables section:
- Click the Add Variable button.
- Enter the Name as DAT and the Value as /sip/data
- Leave the remaining settings at their default values.
- Click the OK button to save your changes.
You will see the values that you entered reflected in the ISAMAgent section of MasterConfig.json.
JSON Agent Settings
The JSON Agent Settings dialog is used to set configuration options for the JSON Agent service.
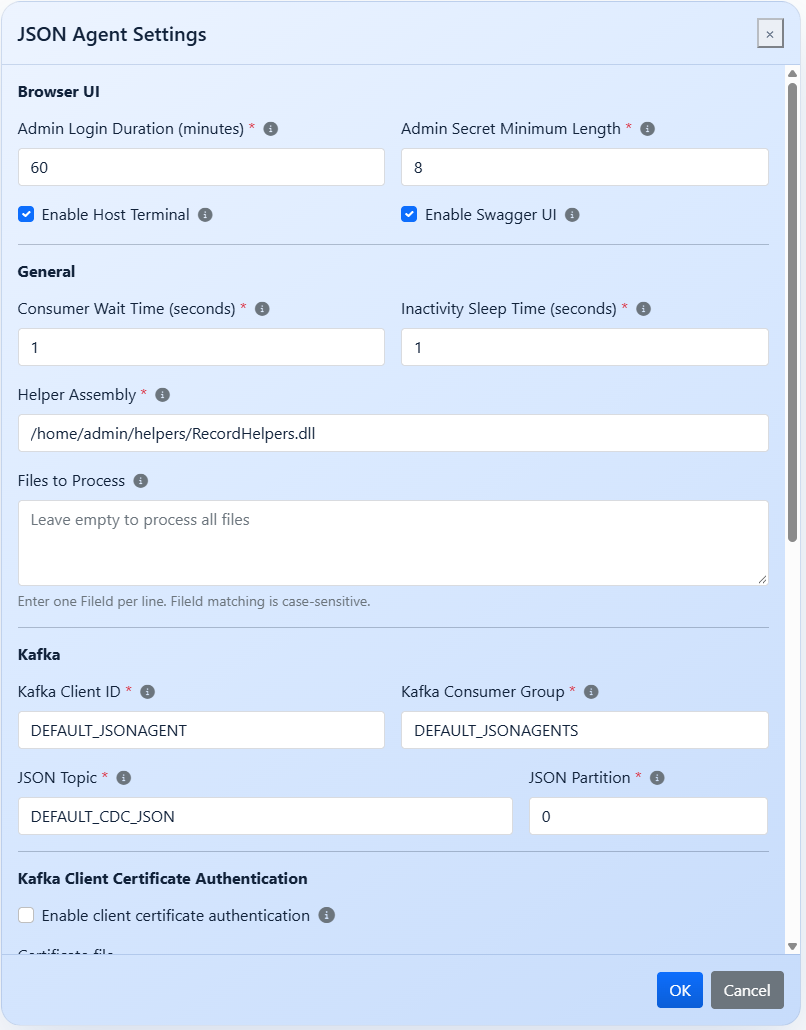
Configure JSON Agent Settings
- From the menu, select Settings then JSON Agent Settings....
- In the Browser UI section:
- Set Enable host terminal to Checked
- Set Enable Swagger UI to Checked
- In the General section:
- Set Helper Assembly to /home/admin/helpers/RecordHelpers.dll
- In the Logging section:
- Set Log to file to Checked
- Set Log file path to /sip/log
- Scroll down to the bottom of the dialog and click the OK button to save your changes.
You will see the values that you entered reflected in the JSONAgent section of MasterConfig.json.
SQL Agent Environment
The SQL Agent settings dialog is used to set configuration options for the SQL Agent service.
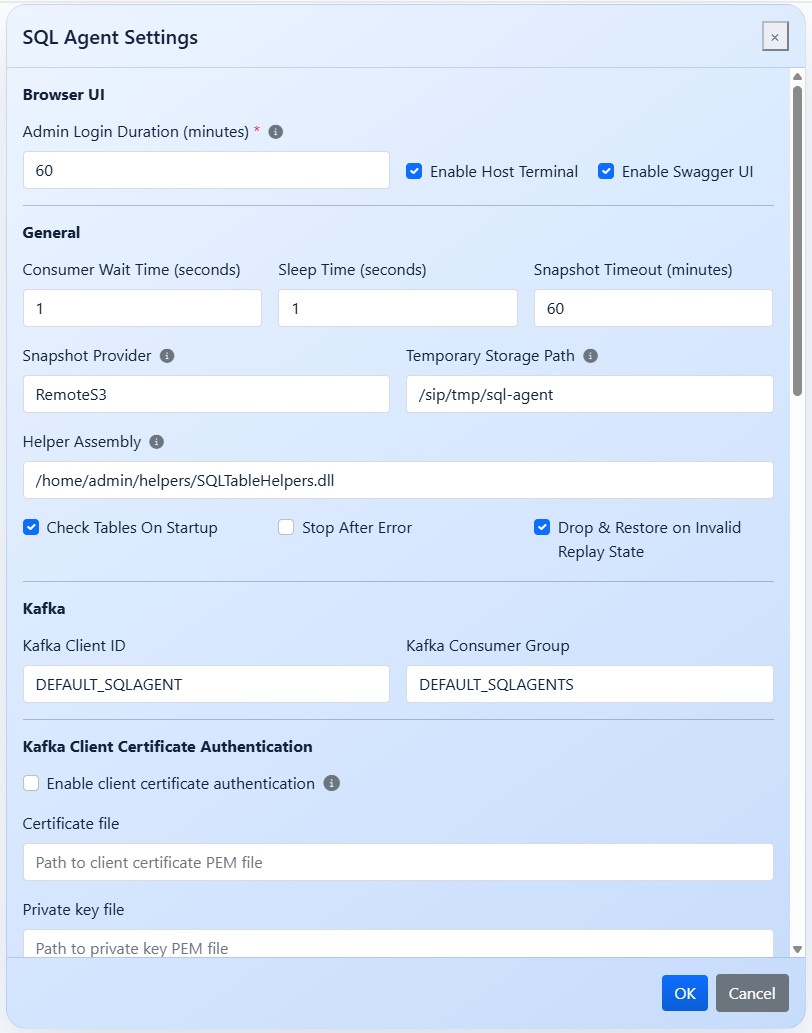
Configure the SQL Agent Settings
- From the menu, select Settings then SQL Agent Settings....
- In the Browser UI section:
- Set Enable host terminal to Checked
- Set Enable Swagger UI to Checked
- In the General section:
- Set Temporary Storage Path to /sip/tmp/sql-agent
- Set Helper Assembly to /home/admin/helpers/SQLTableHelpers.dll
- In the Database section:
- Set Server to sipws
- Set Database to sipws
- Set Username to sipws
- Set Password to p@ssw0rd
- Set Admin Username to sa
- Set Admin Password to p@ssw0rd
- Set Master Key Decryption Password to p@ssw0rd
- Set SQL Server 2022 Time Processing to Checked
- In the Logging section:
- Set Log to file to Checked
- Set Log File Path to /sip/log
- Scroll down to the bottom of the dialog and click the OK button to save your changes.
You will see the values that you entered reflected in the SQLAgent section of MasterConfig.json.
Email Settings
The Email settings dialog is used to set configuration options for the email server.
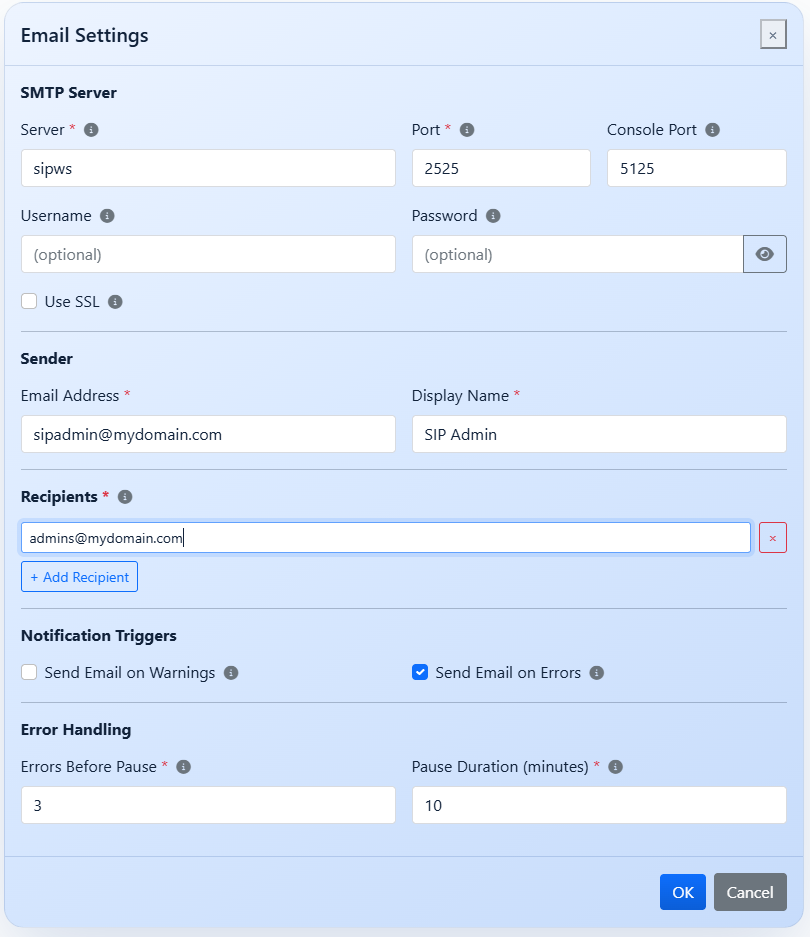
Configure Email Settings
- From the menu, select Settings then Email Settings...
- In the SMTP Server section:
- Set Server to sipws
- In the Sender section:
- Set Email address to sipadmin@mydomain.com
- Set Display Name to SIP Admin
- In the Recipients section:
- Click the Add Recipient button and set the recipient address to admins@mydomain.com
- At the bottom of the dialog, click the OK button to save your changes.
You will see the values that you entered reflected in the Email section of MasterConfig.json
External S3 Storage Settings
The External S3 Storage settings dialog is used to set configuration information about the S3 storage server.
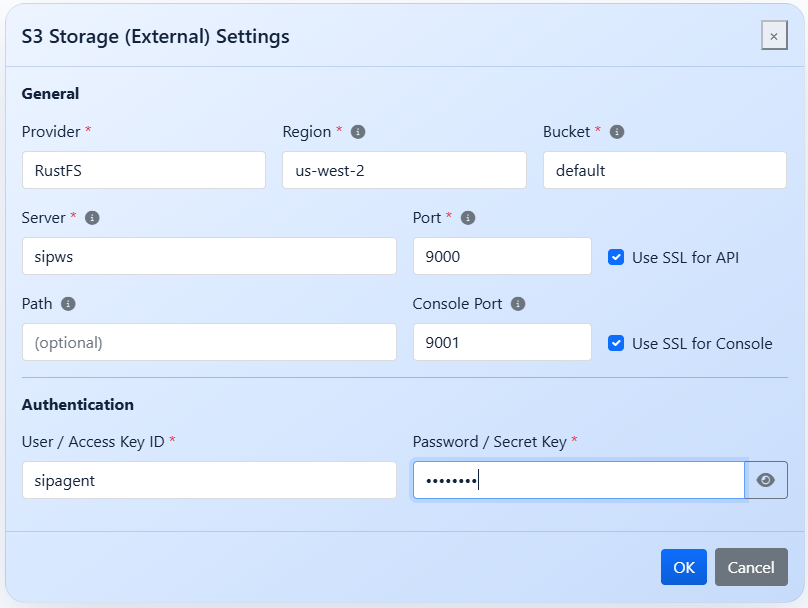
Configure External S3 Storage Settings
- From the menu, select Settings then External S3 Storage Settings...
- In the General section:
- Set Server to sipws
- Set Use SSL for Console to Checked
- In the Authentication section:
- Set User / Access Key ID to sipagent
- Set Password / Secret Key to sipagent
- At the bottom of the dialog, click the OK button to save your changes
You will see the values that you entered reflected in the S3StorageExternal section of MasterConfig.json
Microsoft SQL Server and S3 Passwords
When Microsoft SQL Server accesses an S3 server using its PolyBase service, it has a requirement that the username and password used to access the S3 server contain only alphabetic characters and numbers. This is a SQL Server restriction, not a RustFS or S3 restriction, but it frequently catches people out.
Origin System Tools Settings
The Origin System Tools settings dialog is used to set configuration options for various components that run on your system of record, the origin system.
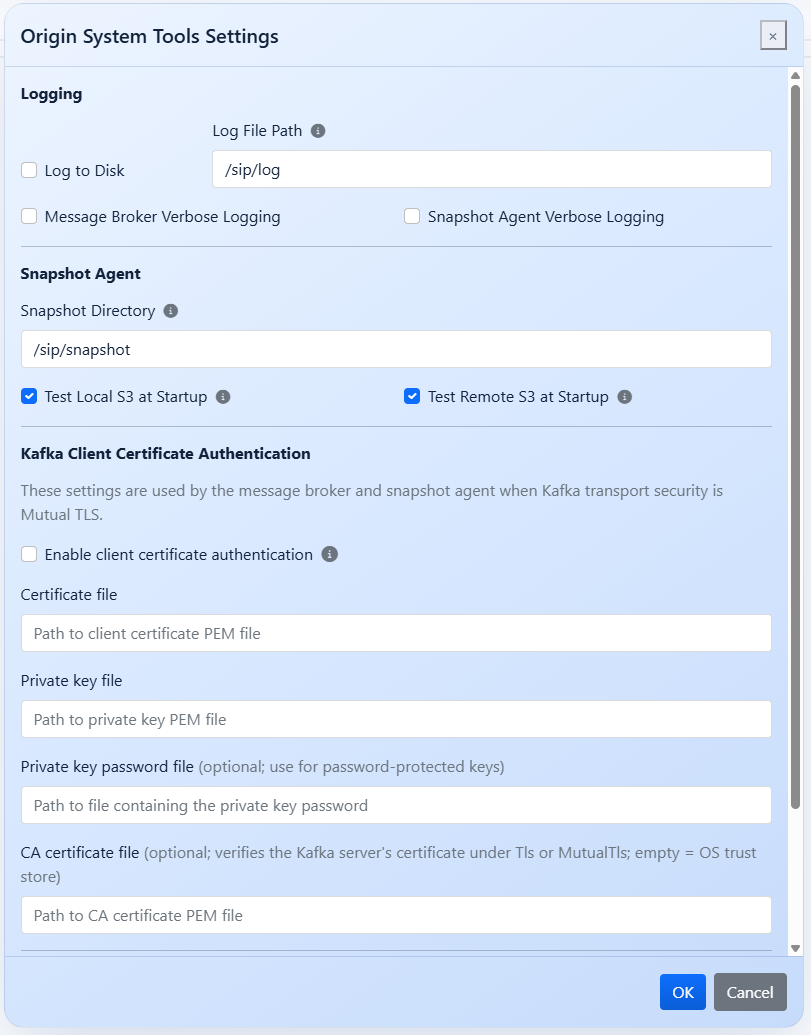
Configure Origin System Tools Settings
- From the menu, select Settings then Origin System Tools Settings...
- In the Logging section:
- Set Log to Disk to Checked
- Set Log File Path to /sip/log
- In the Snapshot Agent section:
- Set Snapshot Directory to /sip/snapshot
- In the Environment Variables section:
- Click the Add Variable button
- Set the Name to DAT
- Set Value to /home/admin/data
- At the bottom of the dialog, click the OK button to save your changes
You will see the values that you entered reflected in the OriginSystemTools section of MasterConfig.json
Configuration Complete
You have now provided all of the main configuration information necessary for all of the system-of-record services and replication agents to operate. Using Configuration Server and configuring everything ahead of time significantly simplifies the task of deploying all of the remaining components.